患者の信頼感向上
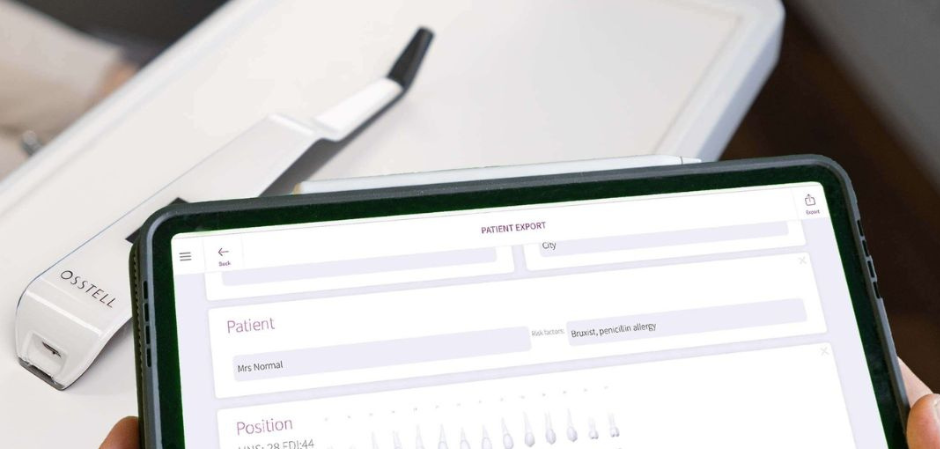
患者の手元に残せる報告書を発行可能です。治療の成功に向けた患者の安心感や、信頼感を高める方法です。
紹介状の作成機能
紹介した歯科医に、患者のインプラントとオッセオインテグレーションの状態を知らせます。また、その後も治療のフォローアップを行うための、診断方法を提案できます。
コミュニティの知見獲得
OsstellConnect(オステル コネクト)のコミュニティには、何千人もの歯科医が集まっています。患者一人ひとりの、歯の最適な治療期間のエビデンスを提供しています。このコミュニティでは、最良の治療方法を確立するため、各種データと臨床的エビデンスの力を信じています。
実践的な洞察の入手
診断結果の統計情報をもとに、治療方法の分析や、成功率を向上させるためのツールが用意されています。(オステル コネクトで)臨床的な洞察を得ることで、患者にとって最適な治療方針を計画することができます。
無料登録はこちらConsultationToolでコミュニケーションを容易に
OsstellConnect [オステルコネクト] のConsultationTool [コンサルテーションツール] を用いると、異なる処置間の経過時間の推定により、手術から最終修復まで科学に基づいた分かりやすい方法で、提案する処置の様々な手順を簡単に説明することができます。これは、患者さんによく生じることのある、状況に確信が持てないことから来る不安を和らげるのに役立ちます。
無料登録はこちら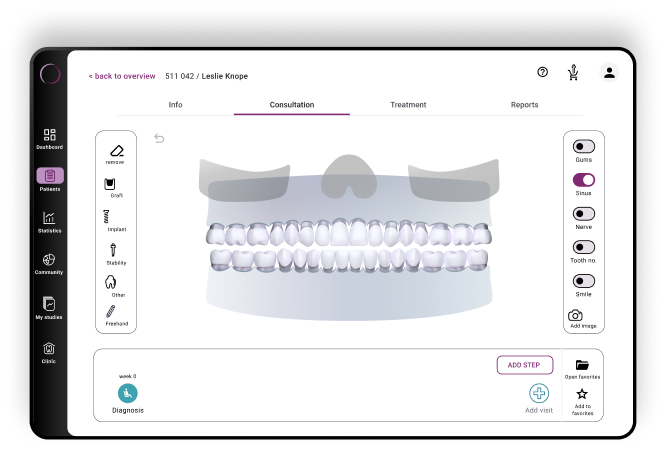
容易、迅速、正確 – すべてを1つのアプリで実現
アップデートされたOsstellConnect [オステルコネクト] アプリをお試し下さい。モバイルとタブレット向けに最適化されました。向上したスキャン技術でインプラントボックスをスキャンし、詳細な分析情報を即座に得ることができます。Beacon [ビーコン] を使用すると、合理化された診察プロセス、診療データへのアクセス、ISQ測定値の記録を簡単に行うことができます。Osstell Key [オステルキー] は必要ありません。弊社のアプリは、より幅広いインプラントブランドをサポートするようになり、手動入力が不要なため、時間を節約できるだけでなく、精度も高まります
ダウンロードはこちら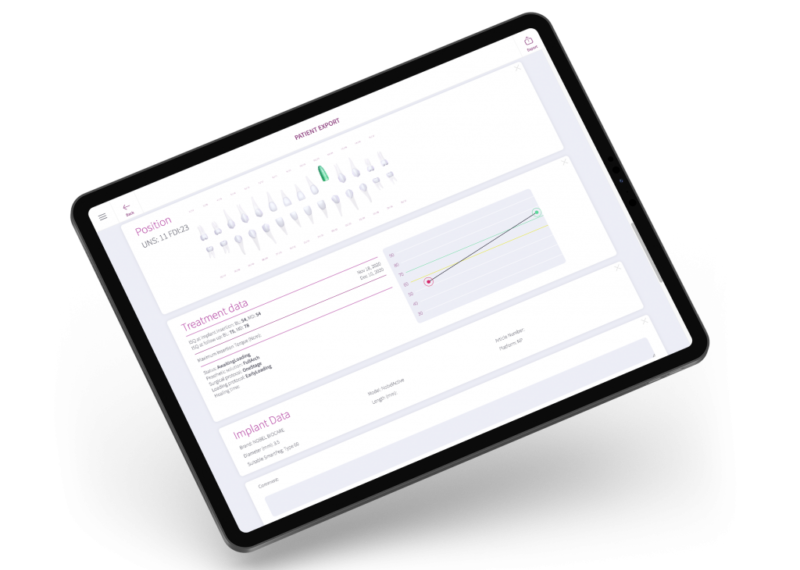
Frequently asked questions
Got a question regarding OsstellConnect? Our FAQ is the fastest way to get help. Below you will find the most frequently asked questions regarding OsstellConnect. If you can’t find the answer you are looking for, don’t hesitate to contact us.
関連する機器やサービスはこちら
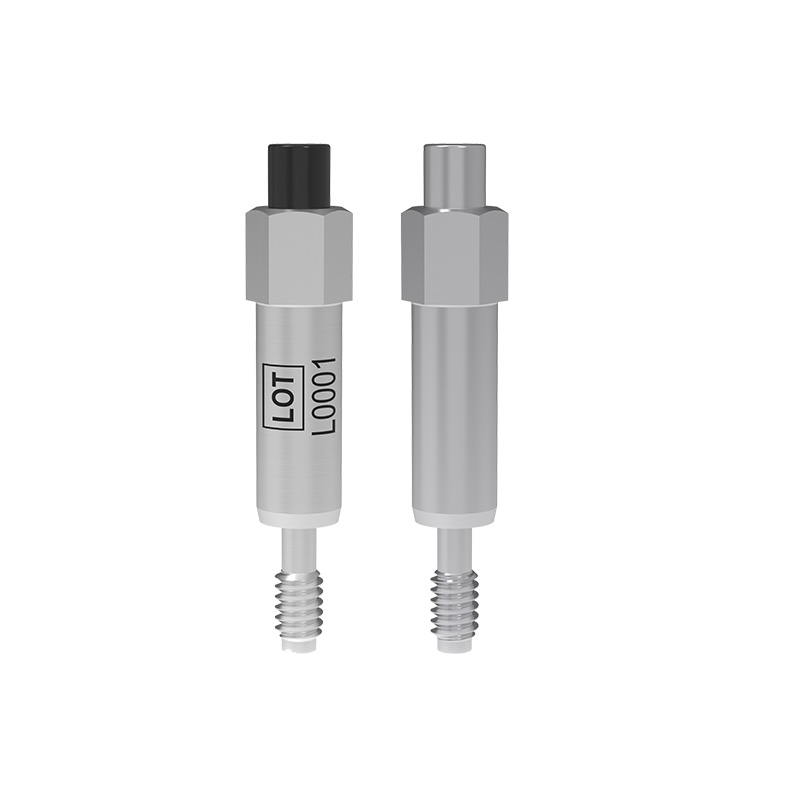
SmartPeg
SmartPeg™はインプラントに装着し、Osstell Beacon(オステル ビーコン)などの測定機器と共に使用されます。
Osstell Beacon
Osstell Beacon(オステル ビーコン)は、インプラントの安定性を客観的、かつ非侵襲的に判断するのに役立ちます。