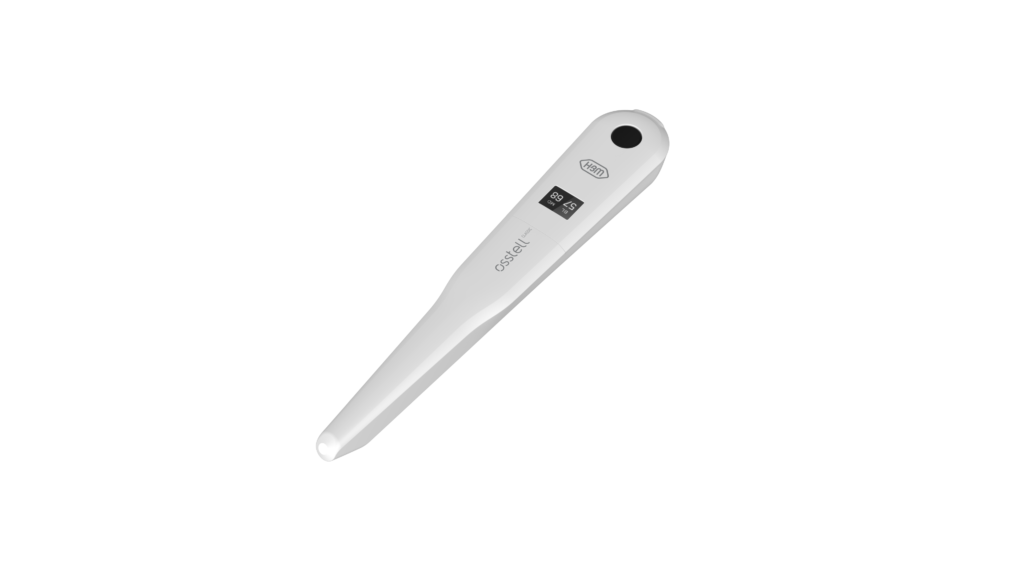
ステップ1
Osstell Beaconの充電
新しい機器は、ご使用前に3時間充電して下さい。
ステップ2
OsstellConnect [オステルコネクト] でBeacon [ビーコン] を登録し、報酬を獲得しましょう
OsstellConnect [オステルコネクト] でBeacon [ビーコン] を登録したお客様に、SmartPeg [スマートペグ] を2箱無料で差し上げます(新たな機器に有効、在庫限り)。
ステップ3
測定の開始
OsstellConnect [オステルコネクト] のヘルプセクションにある段階的なガイドをご覧いただくか、弊社のサポート部門までお問い合わせ下さい。

Osstell Beacon(オステル ビーコン)で、インプラントの安定性を測定する方法
Osstell Beaconは、インプラントの安定性をわずか数秒で判定します。このビデオでは、測定方法を紹介します。その他の手順については、OsstellConnect(オステル コネクト)のアカウント内の、サポートページをご覧ください。
オステル コネクトのページへ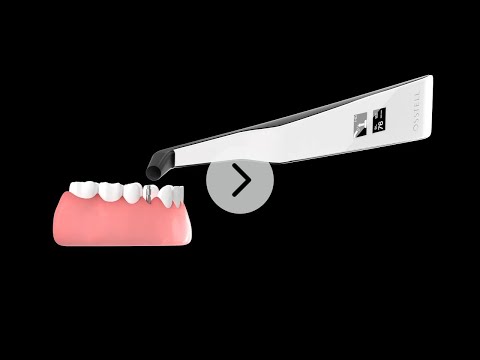
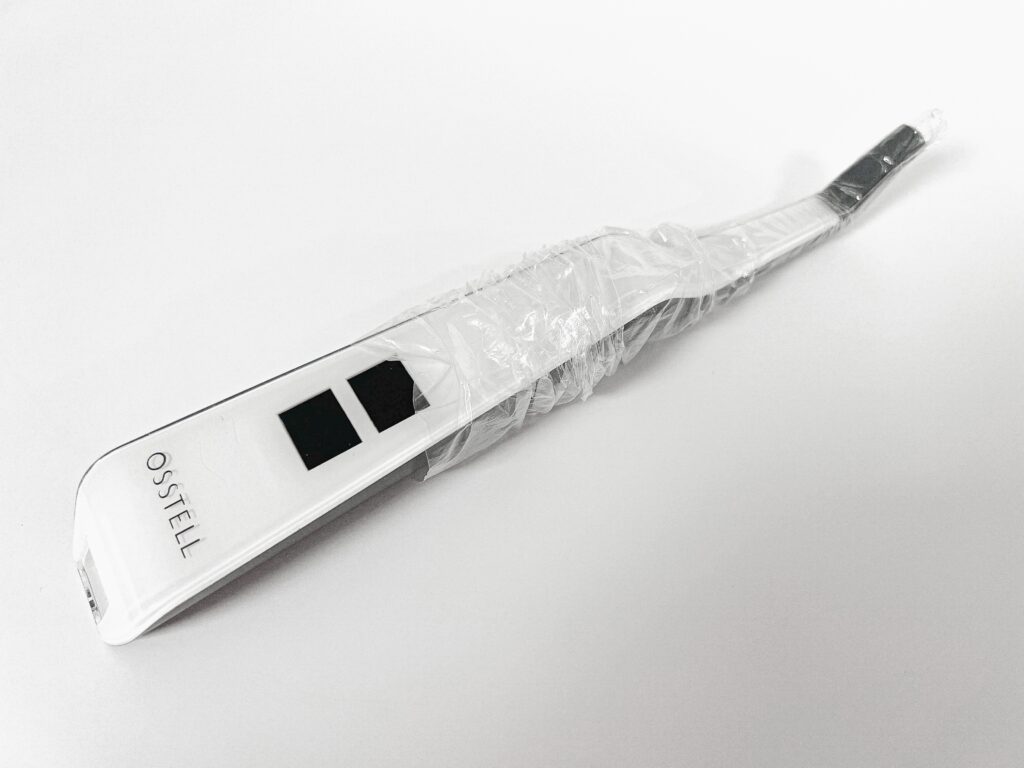
バリア スリーブ
患者に使用する前に、Osstell Beacon(オステル コネクト)にバリア スリーブをかぶせます。バリア スリーブは、交差汚染を防ぎ、機器の先端や本体の表面に、歯科用コンポジット材が付着したり、洗浄液による変色や劣化を防ぐのに有効です。
推奨されるバリア スリーブ:

Omnia: Non sterile cover, Art No 30.Z0600.00, Sterile cover Art No 22.Z0600.00
PremiumPlus: 123, Small short 123, Small.
TIDIshield, Art no: 21021, Art no: 20987.
Osstell [オステル] ISQ スケール
ISQ又はインプラント安定指数は、1から99の範囲であり、インプラントの安定性に関わる測定値です。 ISQ スケールは、極小の動揺への 非線型相関を持っています。1,500以上の科学的リファレンスト共に、安定性が高い数値は70 ISQ以上、60-69 が中程度の安定性、また、60 ISQ は、安定性が低いと考慮されることが分かっています。
Osstell [オステル] ISQ スケール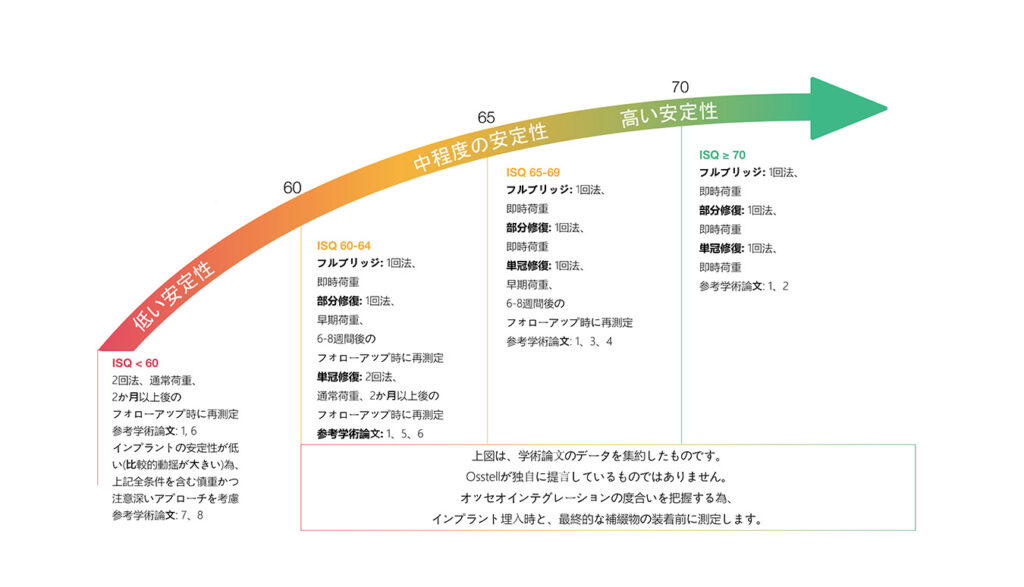
Frequently asked questions
Charge the Beacon for at least 30 min in room temperature, then try again. If the error remains, try resetting the device by:
1. Identify the Beacon reset pin on the picture below.
![]()
2. With a paper clip, do a gentle press for 1 second on the reset button (Note! You may have to tilt the pin a little downwards).
If you see a “PadLock” symbol in the upper display, press one more time on the reset button.
If the Beacon still doesn’t start or the display is showing a wrench and a manual, then please contact your local sales representative or distributor or support@osstell.com.
サポートが必要ですか?
フォームにご記入をいただければすぐにご連絡いたします。お待ちしております。