Osstell Beacon
Implant stability? Easy.
The Osstell Beacon helps you to objectively and non-invasively determine implant stability – without jeopardizing the healing process. “The Osstell Beacon uses proprietary and evidence-based RFA technology, based on thousands of scientific studies. It also includes OsstellConnect, a free cloud-based platform that provides access to extensive implant data and supports improved patient communication.
Predictable outcomes: Confidence in every implant treatment
Our method removes guesswork. By measuring implant stability with an objective value, Osstell makes implant treatments more predictable and reliable for every patient.

Reduced treatment time: Avoid unnecessarily long treatment times
Immediate loading is becoming more and more common. Patients want results fast. With Osstell®, you only wait as long as needed.

Evidence-based: Backed by more than 1500 scientific studies
Backed by more than 1500 scientific studies, our method is based on RFA to determine whether or not an implant is stable enough. The result is presented as an ISQ value of 1-99. The higher the ISQ, the more stable the implant.
OsstellConnect & Osstell Beacon
Enhance your implant treatments
OsstellConnect is a free cloud-based solution offering a new way for clinicians to use data to enhance their dental implant treatments. It is one of the world’s largest implant online portal with more than a quarter of a million datapoints. OsstellConnect is currently free of charge and accessible to Osstell Beacon and Osstell IDx.
Learn more about OsstellConnectImplantmed & Osstell Beacon
Precision and Reliability with W&H’s Implantmed and Osstell Beacon
W&H’s Implantmed plus, combined with the Osstell Beacon, offers an ideal solution for safe and precise implant procedures. With features like automatic torque control for secure implant insertion and a thread cutter function for improved precision, Implantmed ensures ease and accuracy. The Osstell Beacon further enhances this experience by displaying real-time ISQ stability measurements directly on screen, simplifying documentation and supporting optimal patient outcomes. Explore the Implantmed+Beacon package to bring greater precision to your practice.
Learn more about W&H’s solutions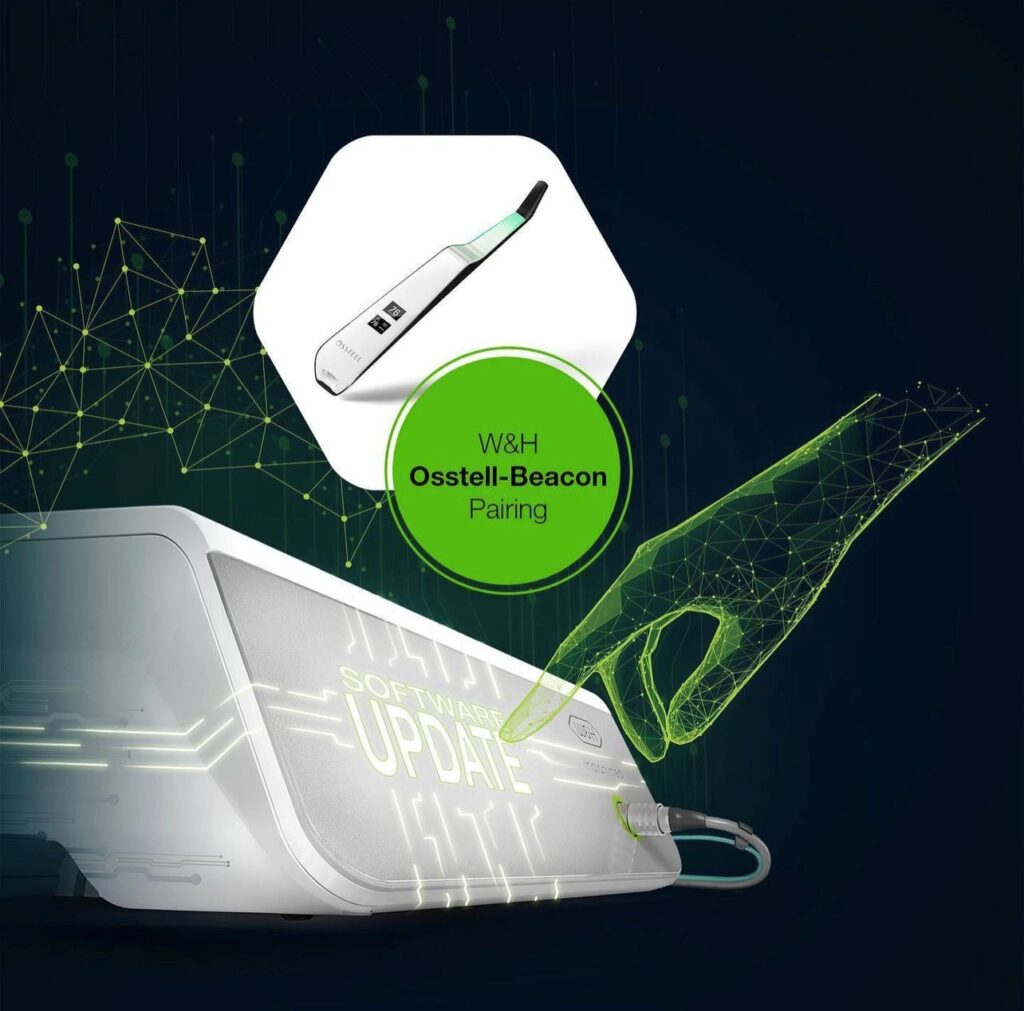
Videos
Setup
In this short video we will guide you, step-by-step, how to set up and register your Osstell Beacon in OsstellConnect. Get started in 5 minutes and get 2 boxes of SmartPegs for free.
Register
Measure implant stability with Osstell Beacon
The Osstell Beacon determines implant stability in a matter of seconds. In this video, we show you how to measure. For more step-by-step guides, please visit the Help section in your OsstellConnect account.
OsstellConnect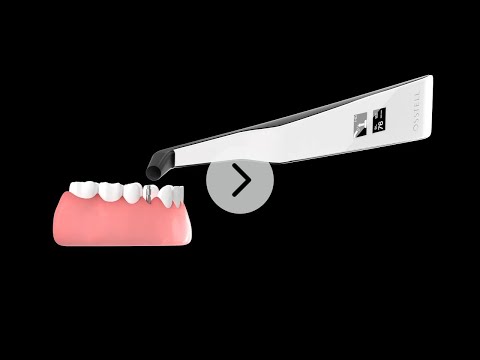
Search for distributor
Availability around the globe
We work together with our distribution partners to provide you the absolute best support possible. Availability in local markets is dependent upon registration and will be available in your country as registration is completed. Are you based in North America? Contact us and we will assist you further.
Frequently asked questions
Got a question regarding Osstell Beacon? Our FAQ is the fastest way to get help. Below you will find the most frequently asked questions regarding Osstell Beacon. If you can’t find the answer you are looking for, don’t hesitate to contact us.
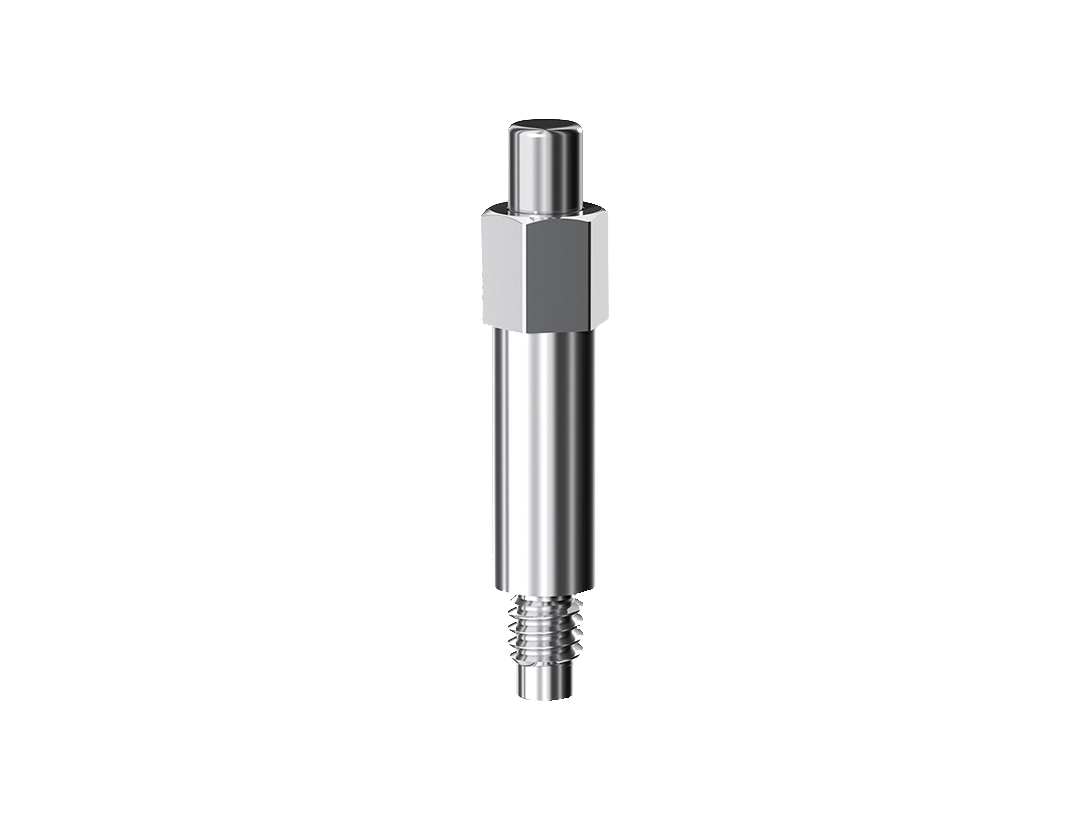
Charge the Beacon for at least 30 min in room temperature, then try again. If the error remains, try resetting the device by:
1. Identify the Beacon reset pin on the picture below.
![]()
2. With a paper clip, do a gentle press for 1 second on the reset button (Note! You may have to tilt the pin a little downwards).
If you see a “PadLock” symbol in the upper display, press one more time on the reset button.
If the Beacon still doesn’t start or the display is showing a wrench and a manual, then please contact your local sales representative or distributor or support@osstell.com.
You may also be interested in
SmartPeg
The SmartPeg™ attaches to the implant and is used together with the measurement instruments Osstell Beacon, Osstell IDx or Osstell ISQ.
OsstellConnect
OsstellConnect is a free cloud-based solution offering a new way for clinicians to use data to enhance their dental implant treatments.