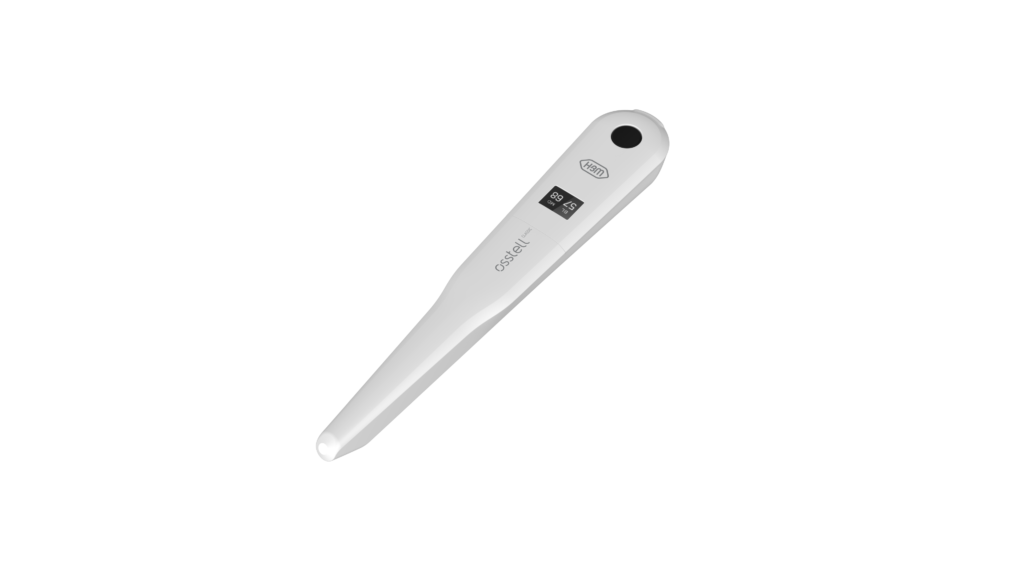
Passo 1
Carregue seu Osstell Beacon
Carregue seu novo instrumento por 3 horas antes de usar.
Passo 2
Cadastre seu Beacon no OsstellConnect e seja recompensado
Registre seu Beacon no OsstellConnect e receba 2 caixas gratuitas de SmartPegs (válido para novos instrumentos enquanto durarem os estoques).
Passo 3
Inicie a medição
Siga os guias passo a passo na seção de Ajuda do OsstellConnect, ou entre em contato conosco para obter suporte.
Configure seu instrumento – passo a passo
Neste breve vídeo iremos guiá-lo, passo a passo, como configurar e registrar seu Osstell Beacon. Comece em 5 minutos e ganhe 2 caixas de SmartPegs gratuitamente.
Cadastre-se aqui
Meça a estabilidade do implante com Osstell Beacon
O Osstell Beacon determina a estabilidade do implante em questão de segundos. Neste vídeo, mostramos como medir. Para obter mais guias passo a passo, visite a seção Ajuda em sua conta OsstellConnect.
Vá para OsstellConnect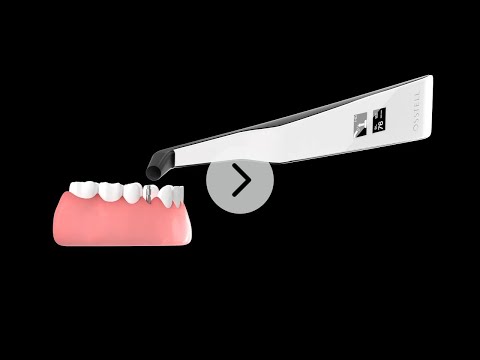
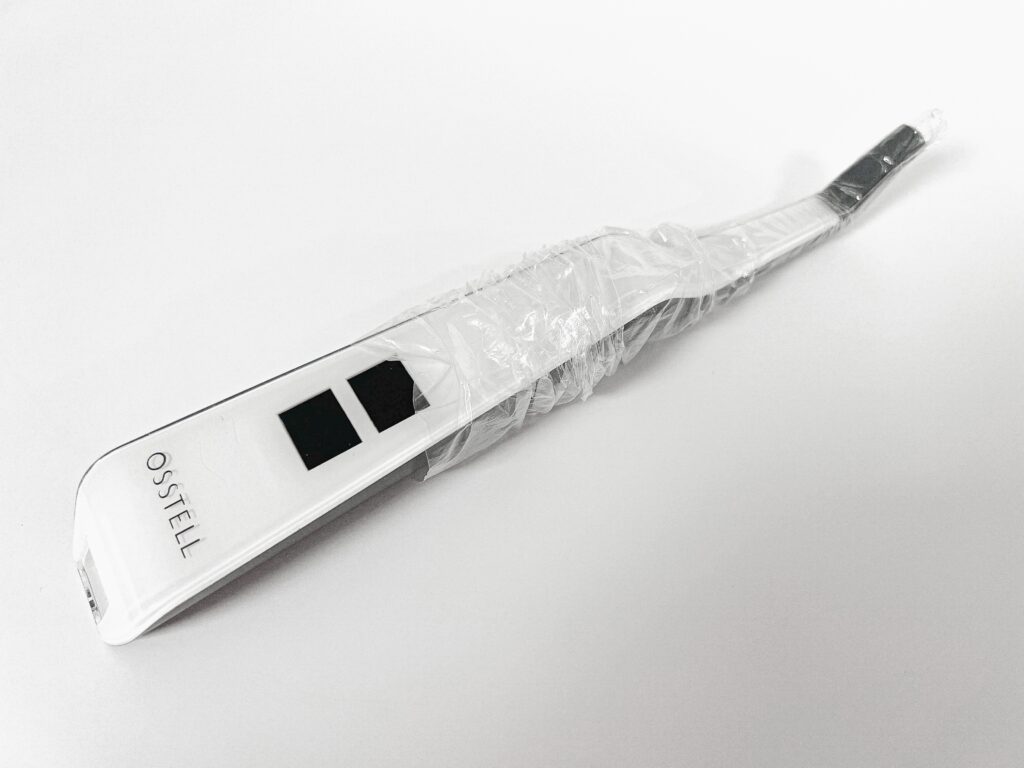
Protetor de biossegurança
Antes do uso em um paciente, coloque um protetor de biossegurança sobre o Osstell Beacon. O protetor de biossegurança ajuda a prevenir a contaminação cruzada e a contaminar a ponta e o corpo do Osstell, evitando o uso excessivo e a degradação das soluções de limpeza.
Protetor de biossegurança recomendados:

Omnia: Non sterile cover, Art No 30.Z0600.00, Sterile cover Art No 22.Z0600.00
PremiumPlus: 123, Small short 123, Small.
TIDIshield, Art no: 21021, Art no: 20987.
A Escala Osstell ISQ
A tecnologia patenteada da Osstell usa a tecnologia RFA, que mede a frequência com que um dispositivo vibra. A frequências de ressonância muda de acordo com diferentes níveis de estabilidade de um implante dentário.
A Escala ISQ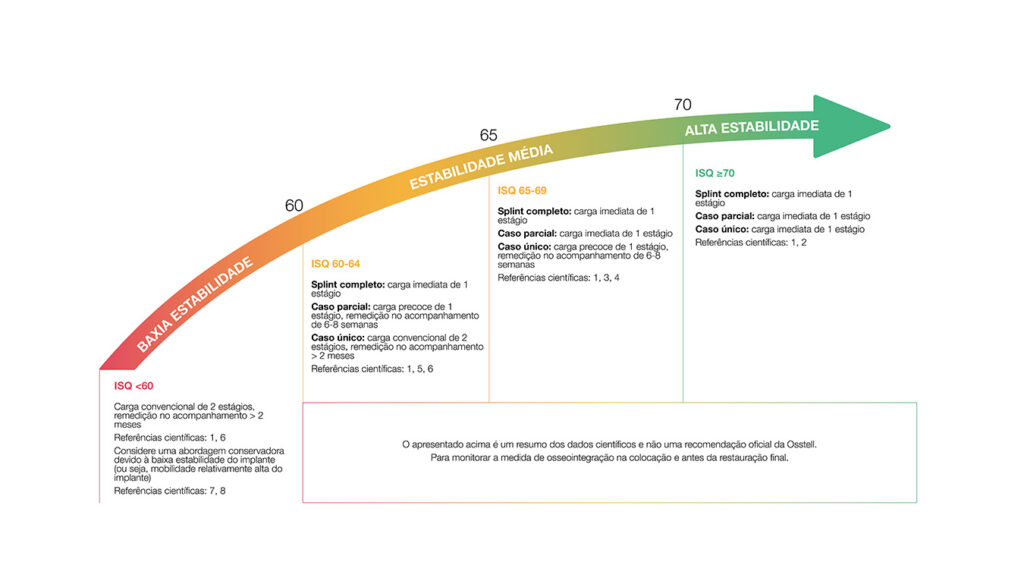
Frequently asked questions
Charge the Beacon for at least 30 min in room temperature, then try again. If the error remains, try resetting the device by:
1. Identify the Beacon reset pin on the picture below.
![]()
2. With a paper clip, do a gentle press for 1 second on the reset button (Note! You may have to tilt the pin a little downwards).
If you see a “PadLock” symbol in the upper display, press one more time on the reset button.
If the Beacon still doesn’t start or the display is showing a wrench and a manual, then please contact your local sales representative or distributor or support@osstell.com.
Precisa de ajuda?
Preencha o formulário e entraremos em contato em breve. Falaremos com você em breve!