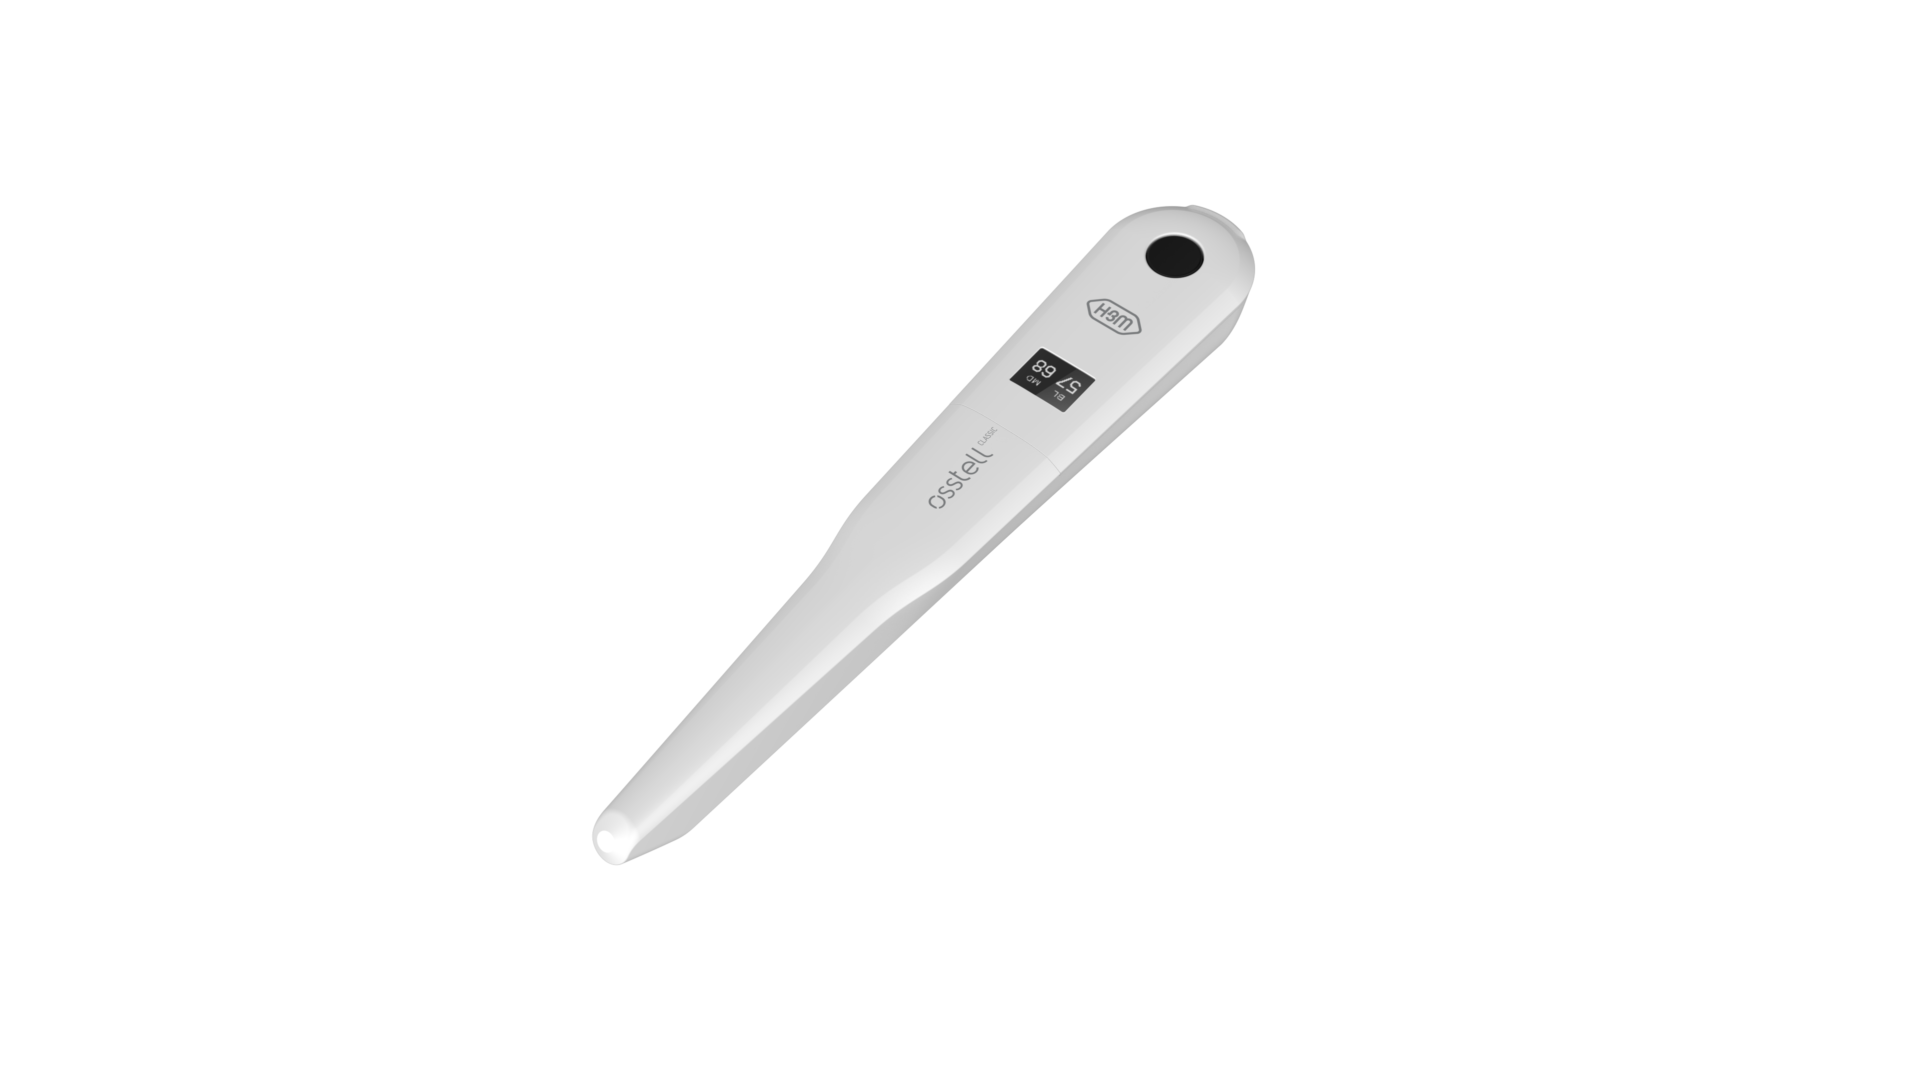
Unterstützung

Osstell Classic

Hier finden Sie alle nötigen Informationen über Ihr Instrument, darunter Einrichtung, Verwendung und Pflege, sowie weitere Informationsquellen und Antworten auf Ihre Fragen.

Weitere Informationsquellen

User manual

Trouble shoot – no reading

Warranty policy

EMC declaration

SCHRITT 1

Osstell Classic aufladen

Laden Sie das neue Instrument vor Gebrauch 3 Stunden lang auf.

SCHRITT 2

Erste Schritte

Gehen Sie nach den Schritt-für-Schritt-Anweisungen in der Kurzanleitung vor oder wenden Sie sich für Unterstützung an uns.
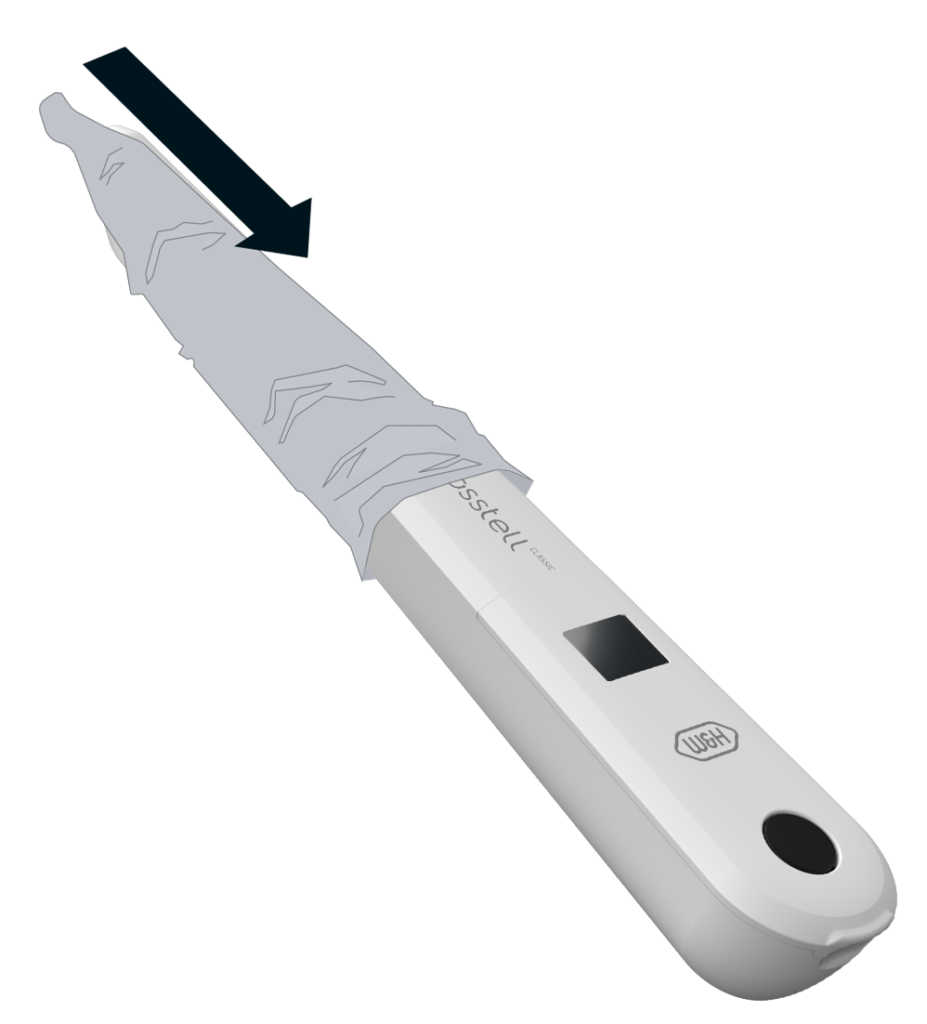
Register product

Barrierehülse

Stülpen Sie vor der Anwendung am Patienten eine Schutzhülle über das Osstell Classic. Die Barrierehülse trägt dazu bei, Kreuzkontaminationen zu vermeiden und verhindert, dass Zahnkomposit an der Oberfläche der Instrumentenspitze und des Instrumentenkörpers haftet, sowie Verfärbungen und Ablagerungen durch Reinigungslösungen.

Empfohlene Barrierehülsen:

TIDIShield: Art No 20808, Art No 20987

Klicken Sie hier, um es zu bestellen.


PremiumPlus: 183-2, X-Ray sensor sleeve, size 2

Klicken Sie hier, um es zu bestellen.

Die ISQ-Skala

Der ISQ oder Implantatstabilitätsquotient ist auf einer Skala von 1 bis 99 eine Messgröße für die Stabilität eines Implantats. Der ISQ steht in nicht-linearer Korrelation zur Mikromobilität. Auf der Grundlage von mehr als 1500 wissenschaftlichen Quellen wissen wir, dass hohe Stabilität bei einem ISQ-Wert über 70, mittlere Stabilität bei einem Wert von 60-69 und geringe Stabilität bei einem Wert unter 60 liegt.

Die ISQ-Skala
Die ISQ Skala

Häufig gestellte Fragen

What is the warranty on the Osstell Classic?

1 year.

How do I measure with the Osstell Classic?

Prior to use on a patient, place a barrier sleeve over the instrument. The barrier sleeve helps prevent

cross-contamination and helps keep dental composite material from adhering to the surface of the

instrument tip and body, and discoloration and degradations from cleaning solutions.

Note

  • Barrier sleeves are single patient use only.
  • Discard used barrier sleeves in standard waste after each patient.
  • Do not leave barrier sleeves on the instrument for extended periods.
  • See below for recommended barrier sleeves.
    • TIDIShield, Art no: 20808, Art no: 20987. tidiproducts.com
    • PremiumPlus: 183-2 X-Ray sensor sleeve, size 2
  • The instrument must be cleaned with appropriate agents after each patient.
  • A first measurement should be taken at implant placement to get a baseline for future measurements throughout the healing process. Before the final restoration, another measurement is taken which makes it possible to observe the stability development of the implant.
  • It is recommended to measure in both Buccal-Lingual and Mesial-Distal direction to find the lowest stability. Therefore, the instrument prompts the user to measure in both these directions.
  • Click here to see a film on how to measure.
How do I clean the Osstell Classic?

Before each use, moisten a gauze or soft cloth with a recommended (see list below) surface cleaner and wipe the whole instrument.

Acceptable Cleaners:

  • Isopropyl alcohol 70%
  • Low foaming, neutral pH, enzymatic detergents like:
      • BePro Disinfectant Wipes, REF 19500102, www.wh.com (can be ordered from W&H Sterilization)
      • Medizime LF
      • Enzol

Do not use:

  • Acidic or phenolic based cleaners/disinfectants
  • Strong alkali detergent of any type, including hand soaps and dish soaps
  • Bleach based cleaners
  • Hydrogen Peroxide based cleaners
  • Abrasive cleaners
  • Acetone or hydrocarbon based cleaners
  • MEK (Methyl Ethyl Ketone)
  • Birex
  • Gluteraldehyde
  • Quaternary Ammonium Chloride salt-based cleaners

The instrument does not require regular maintenance. In the event of an instrument malfunction, contact the local sales representative or distributor for further instructions.

Why is it that I get unexpected values or no readings when measuring?

Possible explanations include:

Re-Used SmartPeg: The SmartPegs are disposable and should only be used for one or multiple measurement at one treatment session, for a single patient only. Repeated re-use may result in false readings due to wear and tear of the soft aluminum SmartPeg threads.

Wrong SmartPeg type selected for the implant: See SmartPeg reference list, osstell.com/smartpegguide

Bone or soft tissue in between SmartPeg and Implant: Make sure to clean the Implant prosthetic connection before attaching the SmartPeg.

Electromagnetic interference: Remove the source of electromagnetic interference.

Probe is held too far away from the SmartPeg: Hold the probe 2-4 mm away from the SmartPeg.

Brauchen Sie Hilfe?

Füllen Sie das Formular aus und wir werden uns in Kürze mit Ihnen in Verbindung setzen.