Soporte
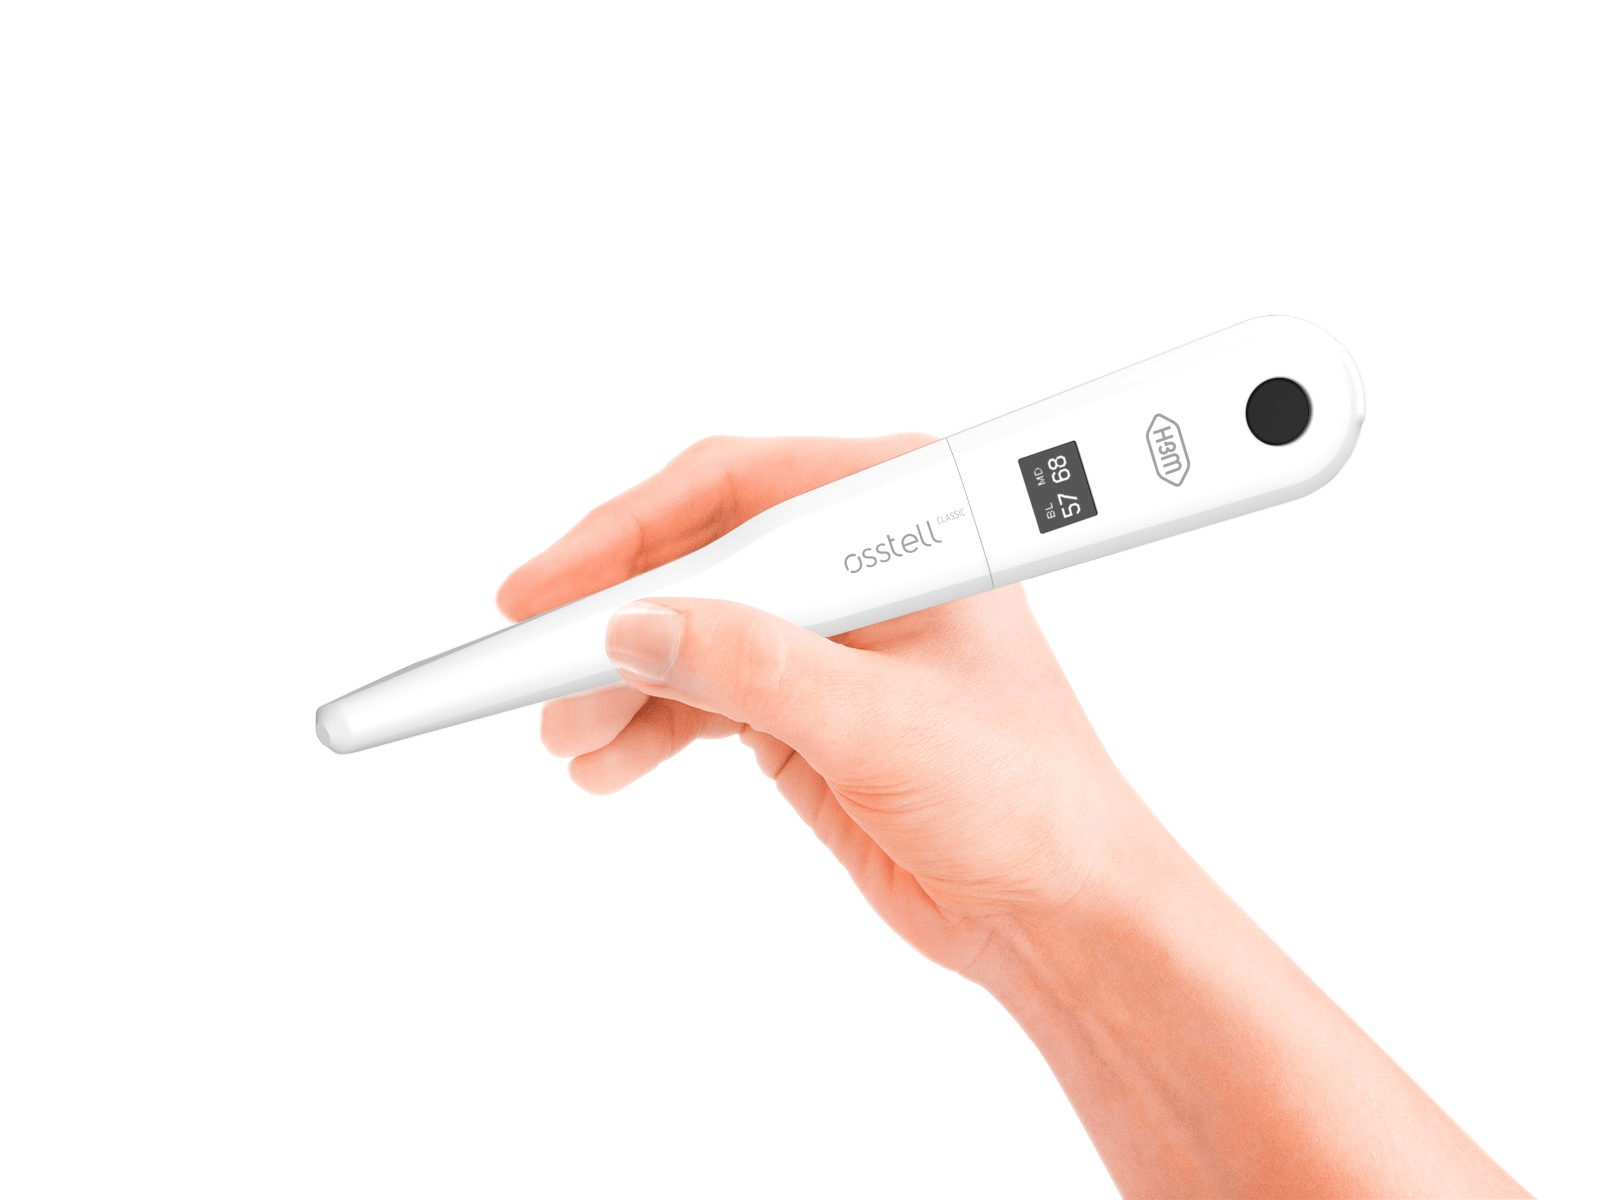
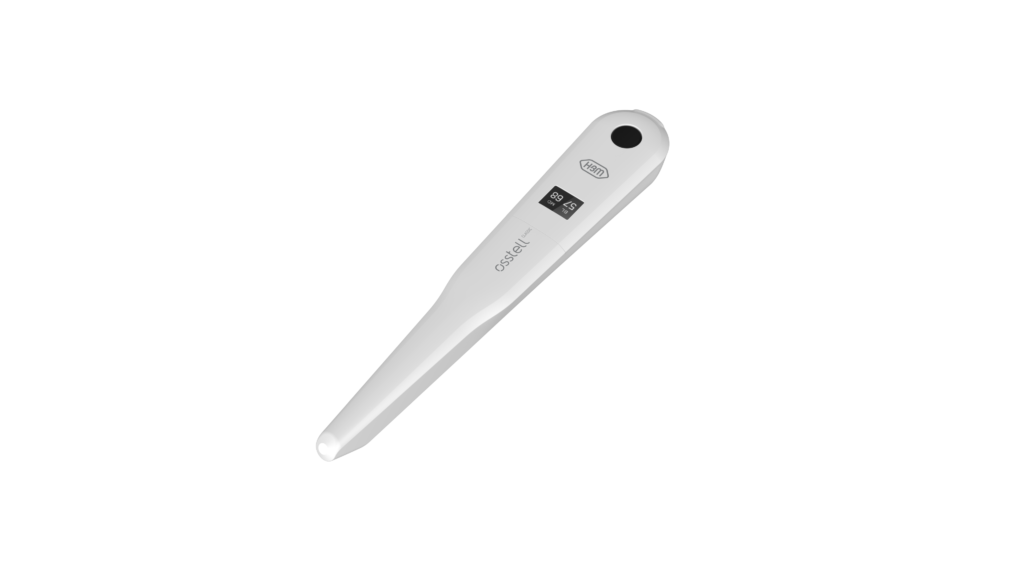
Osstell Classic
Aquí encontrará toda la información que necesita sobre su instrumento, incluidos datos de configuración, uso y cuidado, y también material de soporte y respuestas a sus preguntas.
Paso 1
Cargue su Osstell Classic
Cargue el nuevo instrumento durante 3 horas antes del uso.
Paso 2
Empiece a medir
Siga las guías paso a paso en la guía rápida o contáctenos si necesita asistencia.
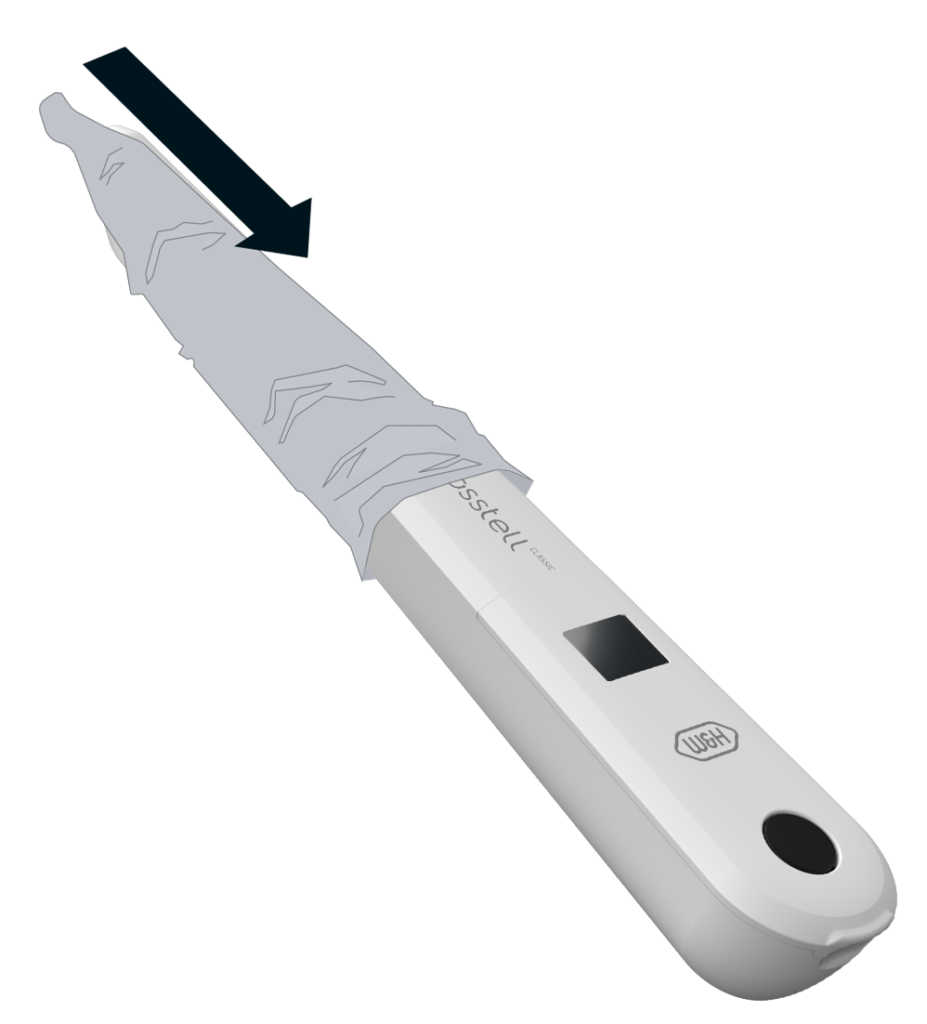
Funda de barrera
Antes de utilizar el Osstell Classic en un paciente, coloque una funda de barrera sobre él. La funda de barrera ayuda a evitar la contaminación cruzada y a impedir que el material dental compuesto se adhiera a la superficie de la punta y del cuerpo del instrumento y que las soluciones de limpieza produzcan manchas y degradación.
Fundas de barrera recomendadas:

TIDIShield: Art No 20808, Art No 20987
PremiumPlus: 183-2, X-Ray sensor sleeve, size 2
La escala ISQ
ISQ, acrónimo inglés de cuota de estabilidad del implante, es una escala de 1 a 99 para representar una medida de la estabilidad de un implante. La escala ISQ tiene una correlación no lineal con la micromovilidad. Con más de 1500 referencias científicas, ahora sabemos que una alta estabilidad significa un valor ISQ superior a 70; entre 60 y 69, se considera una estabilidad media, mientras que un valor ISQ inferior a 60 indica una baja estabilidad.
La escala ISQ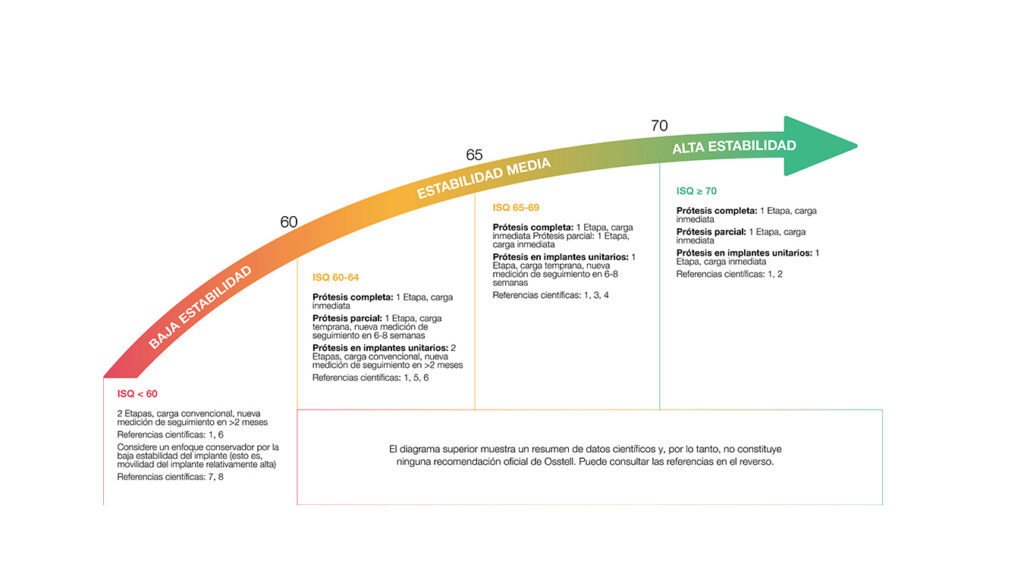
¿Necesitas ayuda?
Rellene el formulario y en breve nos pondremos en contacto con usted. ¡En breve tendrá noticias nuestras!